
Field Notes from a Weekend Grind: ManaBuy Actually Fixed My Top-Up Headache
Saturday night, squad on voice, banner countdown ticking. I needed a quick top-up—nothing dramatic, just enough for a few pulls and the pass. I opened three tabs, stared at identical bundles with not-so-identical fees, and felt the usual friction creeping in. Then a friend dropped a link to https://manabuy.com/ and said, “Two minutes. You’ll be back before queue pops.”
He wasn’t exaggerating.
This isn’t a grand “ultimate guide.” It’s a field report from a regular player who cares about three things: price, speed, and not getting burned at checkout. On those points, ManaBuy felt refreshingly normal—normal in the “this just works” way most stores should work, but often don’t.
What I Noticed (and Why It Matters)
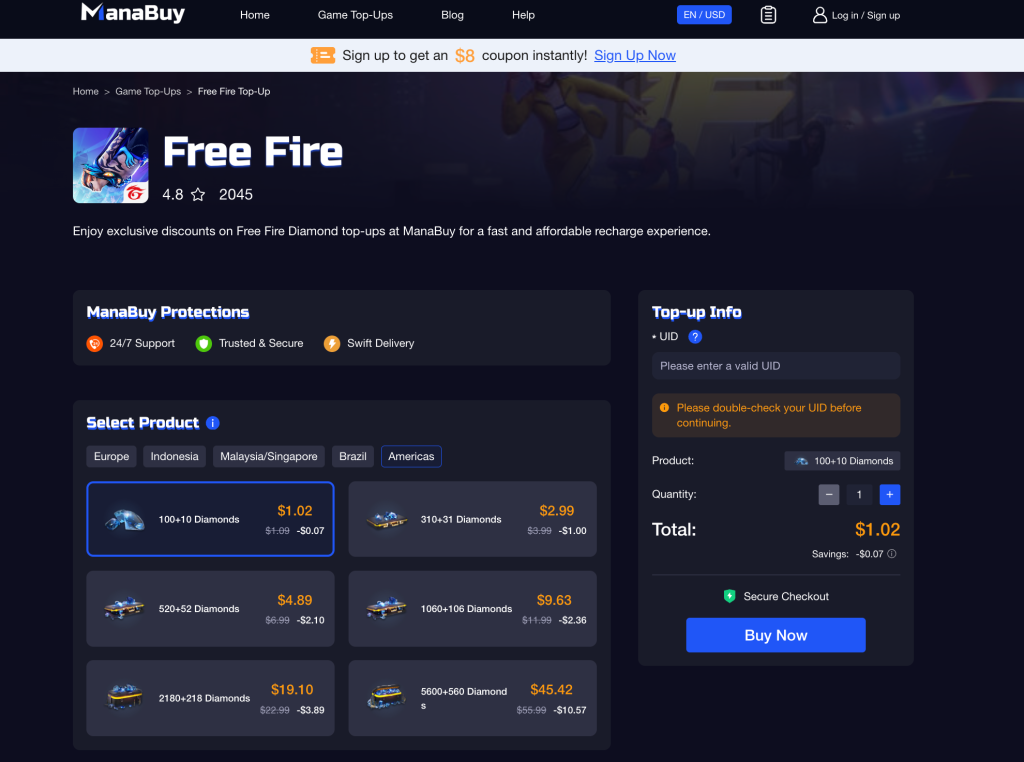
1) Prices that stay what they say
No mystery fees at payment. The number on the product page matched my receipt. When you’re budgeting around banners or season passes, that predictability is gold. I don’t want to hunt coupons in the middle of a Discord call; I want to pick a pack and press buy.
2) Delivery that lands before the joke finishes
I completed checkout, said something vaguely inspiring about luck, and—bam—the currency appeared. It felt more like a quick pit stop than a detour. If you’ve ever missed a queue timer waiting for a code, you’ll appreciate this immediately.
3) Checkout that looks like every modern store
No sketchy redirects. Just a clean flow with mainstream payment options and a normal receipt you can save for budgeting (or peace of mind). It’s boring—in the best possible way.
If you prefer browsing by title, start with the front door: https://manabuy.com/.
Who It’s Good For
- Event snipers. Buying exactly when a banner or collab drops? You need reliable speed.
- Pass people. Monthly subs and battle passes are easy to grab without overcommitting.
- Two-game jugglers. If you rotate between a main and a side game, having one store cuts the admin work.
Quick Playbook for Smarter Spending
- Time it right. Buy near the moment you’ll use it. Idle currency is forgotten currency.
- Buy the tier you’ll actually spend. Don’t pay for leftovers you’ll never touch.
- Lock your IDs. Double-check UID/IGN—not exciting advice, but it prevents 100% of the most common mistakes.
- Save your receipt. If you track hobby spend, ManaBuy’s clear invoices make the math painless.
The Small Things (You’ll Appreciate on the Third Purchase)
- Labels that map to in-game reality. You’re not translating bundles in your head.
- Fast repeat checkout. Once your info’s set, it’s a two-click routine.
- Support that responds like a person. On one order I fat-fingered a detail; the back-and-forth was quick and useful, not scripted theater.
Want the link handy for the next banner? Drop a bookmark here: https://manabuy.com/.
A Note on “Cheap vs. Good”
There’s “cheap because corners are cut,” and there’s “good value because the store is run like a proper service.” ManaBuy lands firmly in the second camp. The pitch isn’t “lowest number on the internet at any cost.” It’s “clear prices, fast delivery, and a checkout you trust.” For anyone who plays regularly, that combination is worth more than a one-off bargain with strings attached.
Verdict
ManaBuy won me over by being invisible in the right ways: no drama at checkout, no waiting purgatory, no guessing games on pricing. I open it, buy what I need, and get back to playing. That’s the whole point.
If topping up has felt like a side quest you never asked for, try the straightforward route: https://manabuy.com/.